
|
Choose one activity from each step.
STEP 1: Learning about digital cameras 1. Interview a professional photographer. 2. Teach yourself the basics. Spend time reading and watching videos on both basics and tips on hoe to make the most of a digital camera. STEP 2: Take pictures! 1. Take pictures of friends in with different backgrounds and poses. If you have a self timer setting on your camera, use it and join the pictures. 2. Photograph a landscape. Take pictures of pretty locations. Consider the time of day and the lighting. STEP 3: Edit 3 photos 1. Look at the pictures you took in step 2. Maybe someone had red eye, maybe it was too dark… whatever the problem, try your hand at photo editing to fix the problem. 2. Add something to one of your pictures. Make it special.. It could be text, putting 2 photos together, adding a digital sticker, etc. STEP 4: Make a digital photo project 1. Make a photo collage.. It can be digital or physical. 2. Make a photo gift for someone. STEP 5: Share! 1. Make a digital album to share with friends or family. 2. Start an online photo journal.. With an adults help, post one photo per day for a week for friends and family to see. Don’t forget to write captions for each so everyone can follow and comment.
0 Comments
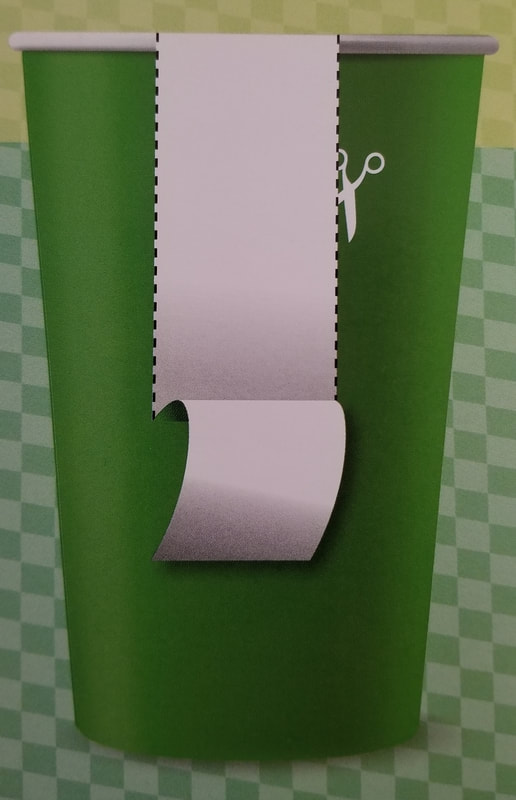
Choose one activity from each step. STEP 1: Animate your own artwork 1. Make a flip book! Take a small pad of paper. On each piece of paper, starting from the back and moving forward, draw a picture. On the next page (moving forward!) draw the same picture but slightly different. Keep drawing on each page altering your drawing a little. When you are done, flip through your pictures (starting from the back) to see your pictures in action! 2. Try stop action animation. This is sort of like your flip book but with clay (or play-do, or small moveable toys). You can watch films like Wallace and Gromit for samples of clay stop action movies (or “claymation”). Now it’s your turn! Create a small set, choose your characters and make a short film (it doesn’t have to be any longer than 10 seconds if you want). What will your character do? Take a picture. Move your character just slightly and take a new picture. Keep going until your characters action is complete. Upload your pictures to a computer and make a slideshow. Set the timer on the slide show to 0 seconds between pictures. Press play and enjoy your movie! STEP 2: Dig into video game development 1. Try computer program that allows you to create an interactive story or game using characters they provide. The Massachusetts Institute of Technology has one called Scratch. Carnegie Mellon University has one called Alice. You can search for other free programs too. 2. Take a look at one of these videos to learn about game designers: Day at Work: Video Game Designer How the inventor of Mario designs a game STEP 3: Try the science of amusement park rides 1. 1. Catapult something! Make a catapult out of household items… check out instructions below. 2. Look into centrifugal force. Did you know if you fill a bucket with water and spin it in a circle the water won’t splash out? It’s all due to centrifugal force. Try it in your backyard. Learn how centrifugal force and amusement park rides are related. STEP 4: Create your own special effects 1. Make a blue screen (or “Green” screen). Learn about chroma-key technology called “blue-screen”. Once you learn about it, try it for yourself. Try putting a picture of yourself or someone else in all sorts of different backgrounds. 2. Make 3-d glasses! (Get an adult to help.) First find an old or cheap pair of sunglasses. Carefully pop out the plastic lenses. Now cut 2 holes the same size as the lenses in a clear sheet of transparency, cellophane or acetate. Use markers to color one lens red and the other blues. Put your new lens in the frame. Put the red on the left and blue on the right. Try them out with a 3D photo! STEP 5: Surf a sound wave 1. Go on an elephant hike! Take two 16 ounce paper or plastic cups. Cut a pair of 2 inch slits down the side of each. They should be about an inch apart. This creates a flap. Cut off the flap. The opening is where your ear will sit. The bottom of the cup should be at the back of your ear. Hike for 5 minutes without them and see what you hear. Now hike 5 more minutes with your elephant ears. How did your hearing change? 2. Play around with GarageBand or similar computer program that allows you to layer instrumental sounds and riffs to create your own musical composition.
Choose 1 item to do in each step.
STEP 1: Start with a poem There are lots of different types of poetry. They can share feelings, ideas, etc. Get creative with one of the options below. 1. Write a haiku and a limerick. A haiku is a 3 line Japanese poem. They are usually about nature and don’t rhyme. Typically, the first line of Haiku has 5 syllables, the second has 7 syllables, and the third has 5 syllables. A limerick is an Irish poem. It has five lines. They usually are funny. In a limerick, the first, second and fifth line rhyme with each other. Those lines have 7 to 10 syllables. The third and fourth line rhyme with each other and have 5 to 7 syllables. Haiku example: The tree grows outside. Big brown log standing up tall. You are a good tree. Limerick example: There once was a man from Toledo. He flew to New York by torpedo. But on the way there His shoe fell mid air And mud was all over his feet-o. 2. Write a free verse poem. “free verse” means your poem can have however many lines you want and however many syllables you want. It doesn’t even have to rhyme. Create your own free verse poem. STEP 2: Create a short story (you have 3 choices, choose 1) Stories are made up of characters (the people), plot (the action), and setting (where the story happens). Write a 5 page story in one of these styles below. 1. Mystery… There’s usually a detective in a mystery story– like Sammy Keyes or Nancy Drew (check them out!)- and crime. What kind of detective will you write about? Is he/she your age? Are they a kid or an adult? What type of crime will they investigate? 2. Humor… Do you prefer to make people laugh? Amelia Bedelia more your style? Try your hand at writing humor. Don’t forget to create interesting characters! 3. Adventure… Maybe you prefer action packed stories like Whatever After series or the Inkheart series (must reads). Think up your characters. What will they do? How will they do it? STEP 3: Use words to share who you are An autobiography is a story about someone’s life written by that person. A biography is a story about someone’s life written by someone else. Start your story like you did in the last step. Who are your characters? What’s the plot? What’s the setting? Add as much detail as you can so someone reading it feels like they lived through the experience with you. 1. Write about a favorite Girl Scout memory. Were you at camp, a cookie booth, etc? 2. Tell readers about an adventure you went on. What did you learn on that adventure? STEP 4: Write an article An article is a story you find in magazines, newspapers or online. They answer the “5 w’s”… that’s who, what, when, and where and why (and sometimes “how.”) Most start with a sentence that make the reader want to keep reading… like an interesting fact. This is called a “lede”. Your article doesn’t have to be long to answer the 5 W’s. Try using quotes. A good article focuses on facts and not the writer’s opinion. 1. A news story: Choose something happening in scouts, school or another community you are a part of. Write an article answering the 5 w’s and don’t forget a lede. 2. An interview article. Talk to a family member or friend. Ask them questions about an event or themselves. Write an article using their answers. STEP 5: Tell the world what you think An essay gives facts , like an article, but the author puts in some of their opinions on the subject too. Write a 2 page essay on one of the following. Try to include at least 5 facts with your opinion. 1. A favorite animal. 2. A place you’d like to visit. 3. Your favorite book. Choose 1 choice from each step.
STEP 1: Explore how music is made 1. Find out about 3 different instruments. Answer the following about each one - How does it sound (listen to a recording) - When and where is it most played? 2. Match the song! Look up the following types of music. Listen to a song from each type and move you body to match the mood of the music. Is it sad and slow? Happy and fast? Try finding orchestra music, choral or opera music, pop music and marching band music. STEP 2: Travel around the world of music 1. Listen to pop songs from 3 different countries besides America. How do they sound? How are they similar or different to something you hear in America? Do you like them? 2. Choose 3 music composers. Listen to a piece of music from each composer. Where are they from? When did they write the song you heard? Did you like their music? “Music, you know, is like food. You can’t tell what you like until you taste it.” -Girl Scout Handbook, 1953 STEP 3: Check out the music in your life 1. Take a poll. Ask 5 members of your family or friends what their favorite type of music is and why. Have them play or sing their favorite song. Why do they like it? 2. Go to a live musical performance, or watch one on TV. STEP 4: Make your own music 1. Make an instrument. It could be drums, musical glasses, maracas, whatever. You don’t need any special tools to make an instrument. Play a simple song or keep a basic rhythm on your instrument. 2. The words to a song are called “lyrics”. Use a tune you know and make up new words. Many lyrics rhyme. See if you can write lyrics that rhyme too. STEP 5: Perform our music 1. Using an instrument you made or your reworded song from the last step, perform for your family! 2. Teach someone else your song or to play your instrument from the previous step. Optional Field trip!
Supplies: Something you can play music on *To earn this badge you must complete all 5 of these listed activities. These are suggestions that meet the requirements of the badge. FIELD TRIP!!!
Supplies: (if not going on a field trip) A computer to show scouts types of pottery and do searches Some type of crafting clay or playdough *Plain old play dough works for sculptures and pots... they just won't dry in a way you could take them home. **To earn this badge you must complete all 5 of these listed activities. These are suggestions that meet the requirements of the badge.
Supplies: Appropriate water and hiking attire supplies to make a campfire bag for picking up any trash on the trail a tarp or parachute *To earn this badge you must complete all 5 of these listed activities. These are suggestions that meet the requirements of the badge. 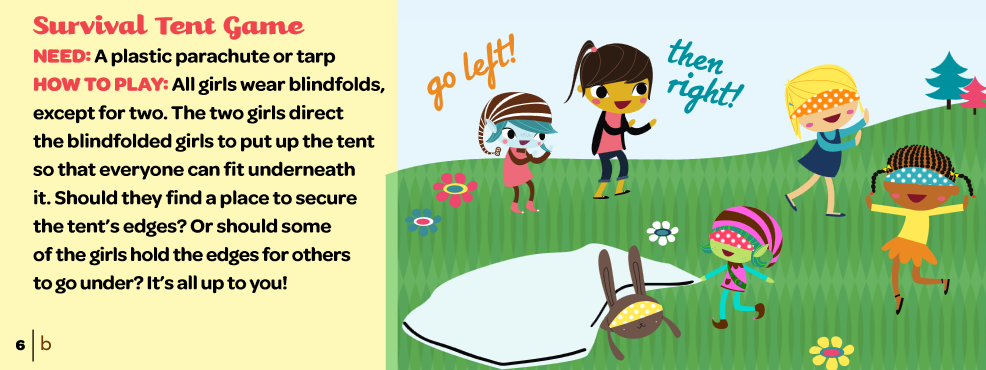 What is letterboxing? It’s a little like geocaching except you follow clues to find a notebook. You leave your personal stamp in the notebook. Often there might be a clue to find another box.
What you need to letterbox: a water proof box, a small notebook, a compass, pen/pencil, personal stamp, stamp pad
Supplies: craft foam small pieces of wood or baby food lids (for each girl) water proof box small notebook compass personal stamp stamp pad basic art supplies *Answer: Look under the slide at the park. Letterbox websites: Letterboxing.org Atlasquest.com **To earn this badge you must complete all 5 of these listed activities. These are suggestions that meet the requirements of the badge.
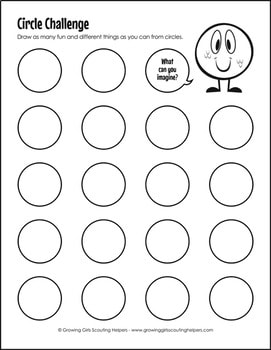
Supplies: A copy of the circle template for each girl paper pen/pencils *To earn this badge you must complete all 5 of these listed activities. These are suggestions that meet the requirements of the badge.
|

Archives
September 2020
Categories
All
|
 RSS Feed
